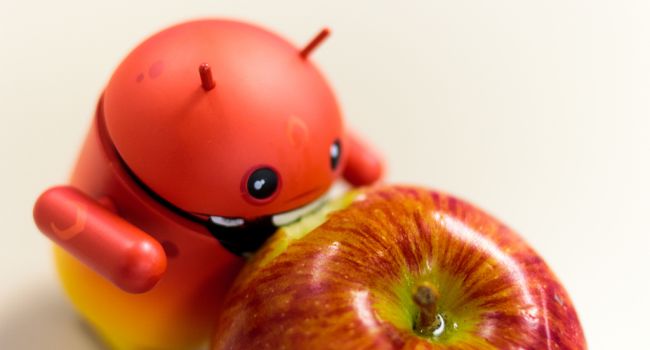
Let’s say you own an iPhone. A 3GS, a 5, a 4S or maybe you’re even lucky enough to own the 5S. It doesn’t matter. What does matter is that you’re bored with your iPhone, and possibly even tired of being tied down to a phone that locks you into a certain way of behaving. It’s not open, per se. Everything is on Apple’s terms. The looks of the OS, the way you store your data, everything. So the time has come to move to Android. Well done to you.
No ad to show here.
Android’s a great choice for a number of reasons. First, the phones are a little easier to get your hands on (no one ever queued for a HTC One, and if they did, why?). Secondly, Android is an open OS and the devices are very easy to migrate to. Thirdly, Android devices can run unsigned apps, so you can whatever you want to it.
Here’s what you’ll lose: iOS-specific apps and purchased TV or films. Copying music out of iTunes is easy enough if you use the free migration app DoubleTwist, but any other content is a pain.
So here’s how you migrate from any Apple device to any Android device in X easy steps. Please note that these are the very easiest steps for what is a fairly stressful process. We’re trying to make this as simple and pain-free as possible:
1. Back it up:
Plug your iDevice into iTunes, and click “backup now” or wait for the device to automatically back itself up (if you’ve selected that option). We’ll need the backed-up contacts and information later when migrating to Android.
2. Move your contacts:
Google is your friend. And Androids are Google machines, waiting to be infested with your contacts. With your iDevice still connected to iTunes, click on the summary page, then info tab. Next, tick “Sync Contacts With” and “Google Contacts”.
You’ll need to use your Google details here, so type in your username and password then hit “apply”. Your contacts will neatly sync with Google, so when you input your details into the Android, your details will just be on your new phone, like magic. Of course, this only works if you set up a free Google account. Or, you could use the R20 (US$20) Migration+ app. Works like a charm.
3. Save your photos:
The quickest, easiest way to do this is to simply plug-in your iDevice and copy over the photos manually to your desktop. When you’re done, just copy the photos back to Android’s internal memory or microSD card. When you’re on Android, you’ll find that your photos are automatically backed-up if you have the Google+ app installed. It certainly beats the iCloud. On a Mac, plugging in an iPhone and syncing photos is even easier. When the device is plugged in, an import window will pop up. You can save your photos to the Mac from here.
4. Sync your calendar
This is easy as pie. Go to “settings” on the iDevice, then click on the “mail” option and add your Google account. Done. iOS will sync your calendar contacts not only to your Android, but to Google Calender as well.
5. Backup your iDevice’s text messages (optional)
This is not an easy step at all, we’d put it under “b” for “bloody tricky”. It is possible though and Redmond Pie have created a detailed set of instructions on how to do it. We suggest just giving up on text messaging all together. It’s just so nineties.
6. Getting into Android
Android is a very different experience to iOS. Some would say that Android isn’t even as slick as iOS, but with the right tweaks and skins, you can create any mobile experience you want.
What makes iOS so user-friendly is that Apple would have tested every aspect of its device, both software and hardware, before it sees the light of day. We’re not saying that Android doesn’t, but iOS is crazy-intuitive when it comes to its apps and interface. iOS 7 for instance has the background that shifts depending on you viewing angle. But this is where Android has the upper hand.
From the start-up screen, to the menu animations, to the OS itself, every single part of Android can be modified. Some phones can’t, others were born to ripped apart from the inside out.
Once you’ve plugged in your Android and added your Google account, everything you’ve synced will appear on your phone. Instant messaging apps like WhatsApp should be backed up manually, so don’t forget about those.
If you’re swapping from iOS to Android, you’re doing it for a good reason. The apps that you love (iOS specific ones) are mostly replicated on Google. But apps like Mailbox and Haze aren’t and won’t be on Android for some time.
There’s no more iMessage, so use WhatsApp instead. Google’s default email app is miles better than iOS’, and practically anything else with the Google stamp (Maps, YouTube, Hangouts, Chrome) all look and perform like the world-class apps that they are.
You’ll be surprised at how easy it is to do. iOS in the past was a chore to sync with Google, but now it’s hassle-free to the point that guides like these, are as short and snappy as possible. The key is to have a Google account. Once you have that, you’ve opened up the door to iOS to Android migration. May we recommend the Xperia Z as your new phone? It beats the iPhone into the ground with heavy stick.
Image via Flickr by ASGW
