With stablecoins gaining traction and regulation improving, African merchants may be nearing a crypto tipping point. Here’s why 2026 could mark a shift from hesitation to adoption.
Why you should own a private cloud today

Sponsored by Synology
Cloud storage has revolutionized the way we back up and access our data. But there are times you may not want to put all your data in the hands of a third party.
Thanks to the software and hardware that Synology creates, you can create your own private cloud that can be accessed by you and your team members.
Here’s a look at the benefits a private cloud provides, as well as our experience setting one up using the Synology DiskStation DS423+.
What are the benefits of a private cloud?
So why would you opt for a private cloud over using a third-party platform? The first benefit is privacy – you host your own data and don’t have to rely on the servers of another company.
While the upfront costs are higher, hosting your files on your NAS means you can avoid monthly subscriptions that increase with storage quota. You also avoid the nasty surprise of increased subscription prices or lowered free storage quotas.
Finally, you can host all types of files and encrypt them if necessary. This ranges from hard drive backups, to syncing of photos, as well as music libraries and media collections.
You own the data, where it’s stored, and the network through which you access it.
Setting up your own cloud with Synology Drive
Synology Drive is a software solution that works with a Synology network-attached-storage (NAS) device to create a private cloud that can be used by individuals or small businesses. We got started creating our own NAS server using the Synology DiskStation DS423+, a robust solution with four drawers (for HDD or SSD drives) and two slots for NVMe SSD cache acceleration drives.
Connecting to the NAS is easy enough for beginners, but will require you to set up a username and password for a Synology account.
To connect to your NAS for the first time when it’s connected to your router, type “find.synology.com” into your browser. When it’s set up, you can use “synologynas:5000” to quickly access your NAS again.
There are two main processes involved in setting up the Synology DiskStation to work with Synology Drive.
First, there’s completing setup of the DiskStation itself and setting up your first Shared Folder. Luckily, the device works with Synology’s web-based operating system, DiskStation Manager (DSM), making the process user-friendly.
Setting up your NAS for the first time will involve first installing the storage modules into their trays. Then, plug in the power cable and connect the NAS to your network using one of the included LAN cables, which you can use to connect to your router.
You will then use a desktop computer to connect to the NAS by visiting “find.synology.com”. The setup wizard will take you through installing the DSM, and setting up your first volume on the storage.
How to set up Synology Drive
To get started using Synology Drive, you need to make sure that the Synology Drive Server is installed onto the NAS.
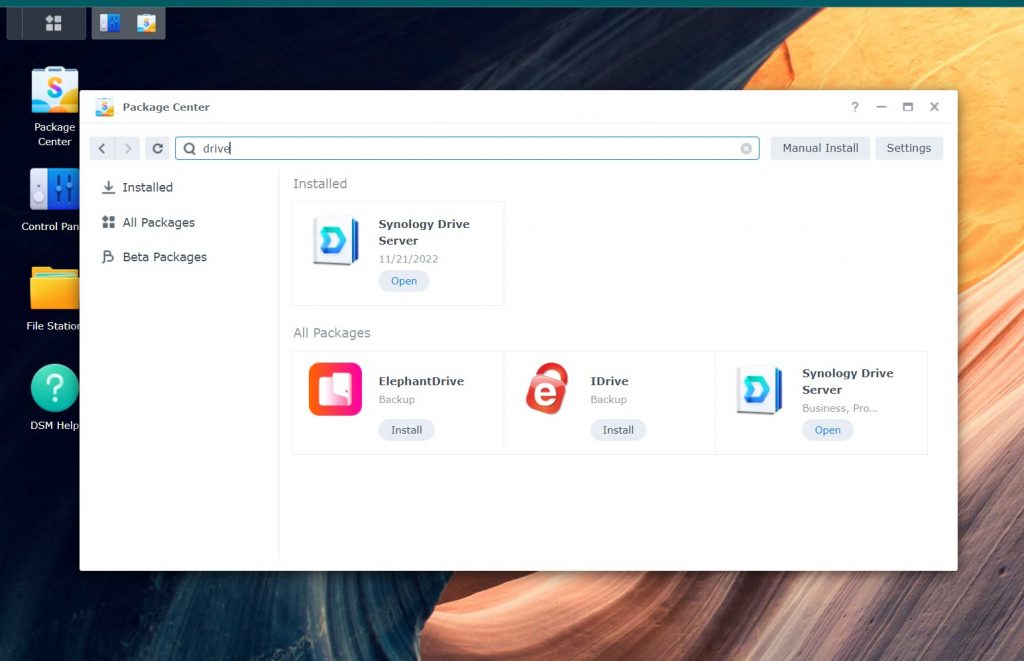
This sets up Drive access to the NAS. Meanwhile, on your PC, you can install the Synology Drive Client, which will help you create backup and sync tasks.
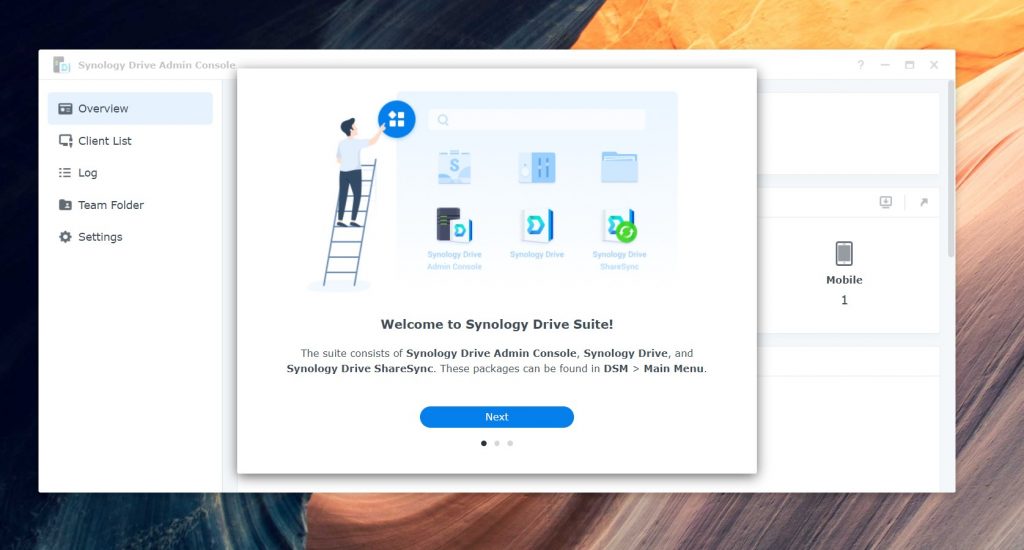
Using the Drive Admin folder, you can then create Team Folders that will be accessible to other devices.
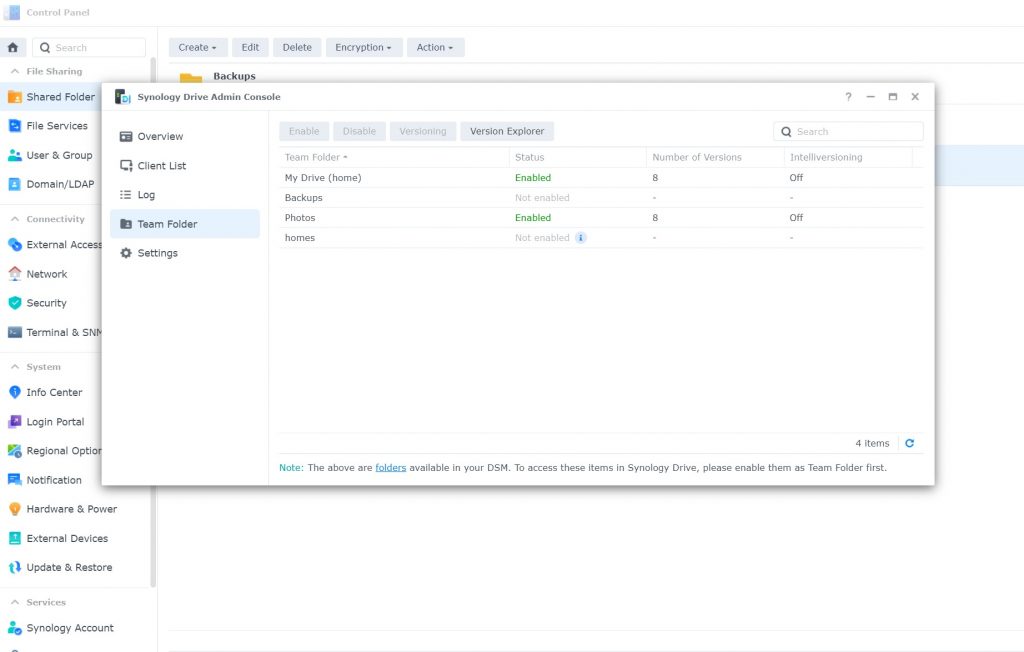
In our use, we set up two folders: My Drive and Photos. The easiest way to do this is to use Synology Drive Client on your desktop PC. But you can also use Synology Drive on your smartphone.
We logged into the shared team folder by signing in with a username and password, with the account granted access to read/write permissions for each folder.
Once this is done, Synology keeps track of how many devices and clients are connected to your NAS via Drive.
User-friendly software
Using the Synology Drive Client and DSM to manage your NAS is relatively easy, so even beginners can wade into setting up their own cloud.
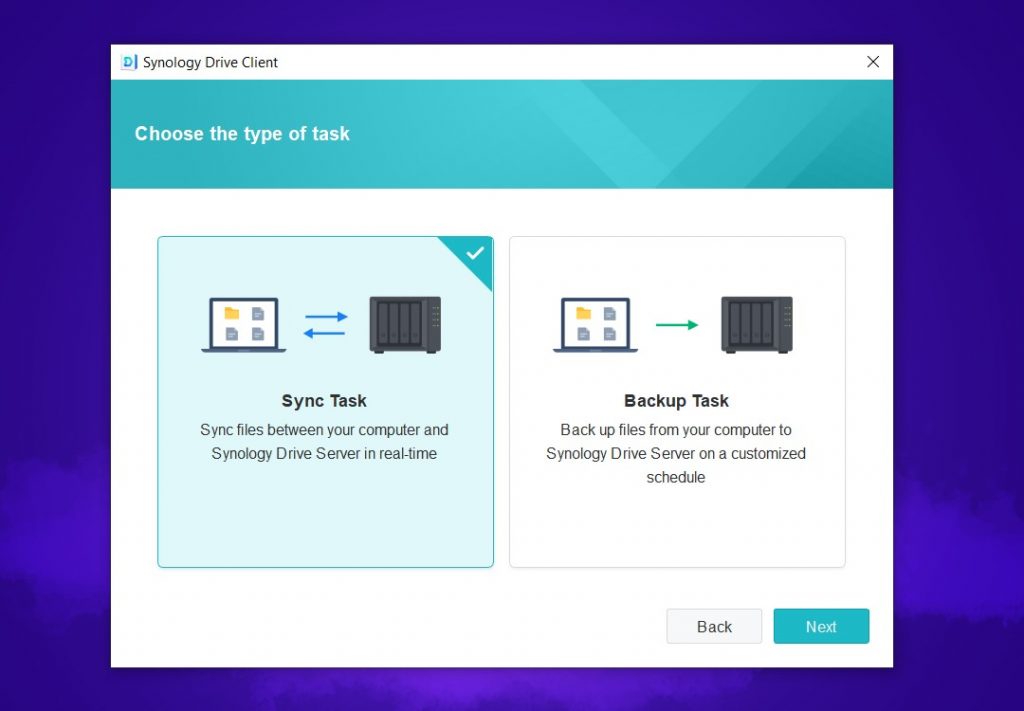
With Synology Drive Client, you can set up backups and syncing between folders on your NAS and your PC or smartphone. You can also add additional folders as time goes by, depending on your needs.
Syncing is a particularly useful solution, and lets you create your own Drive folder that you can upload files to on your PC. It works similarly to having a OneDrive folder or Google Drive folder. When you add a new file, the folder syncs with your NAS and you can access the files on DSM.
You can also create sharing links so that you can send the files to others on your team. Settings allow you to require a Synology account or password to view and download files.
This feature works similarly to services like WeTransfer, except that you are the one hosting the files.
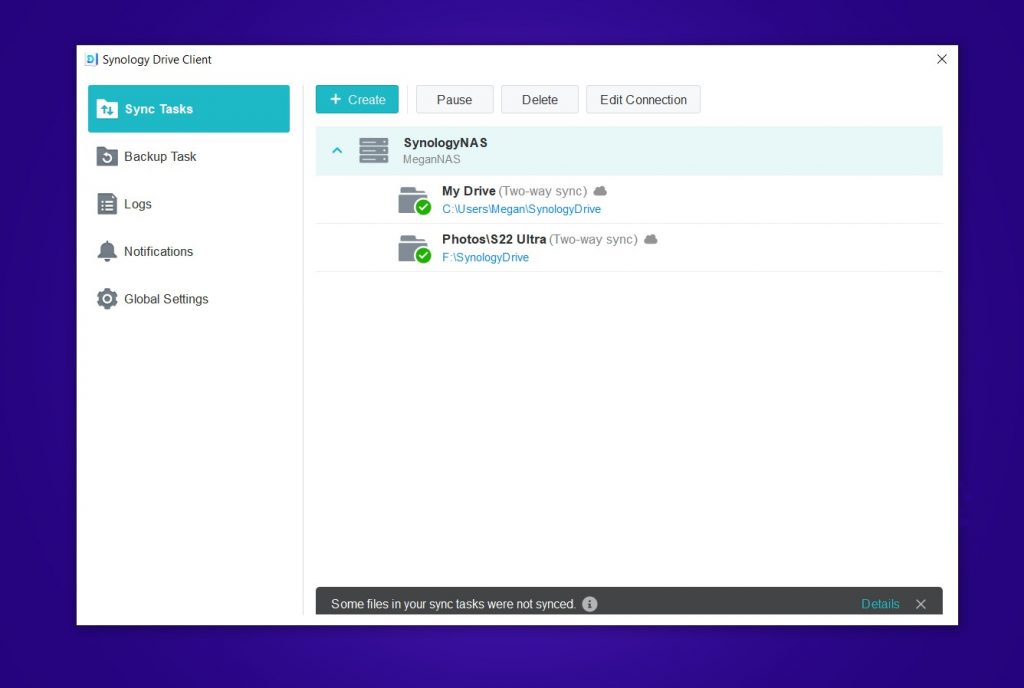
While Synology Drive is one of the software packages you can install on your drive, there are many more.
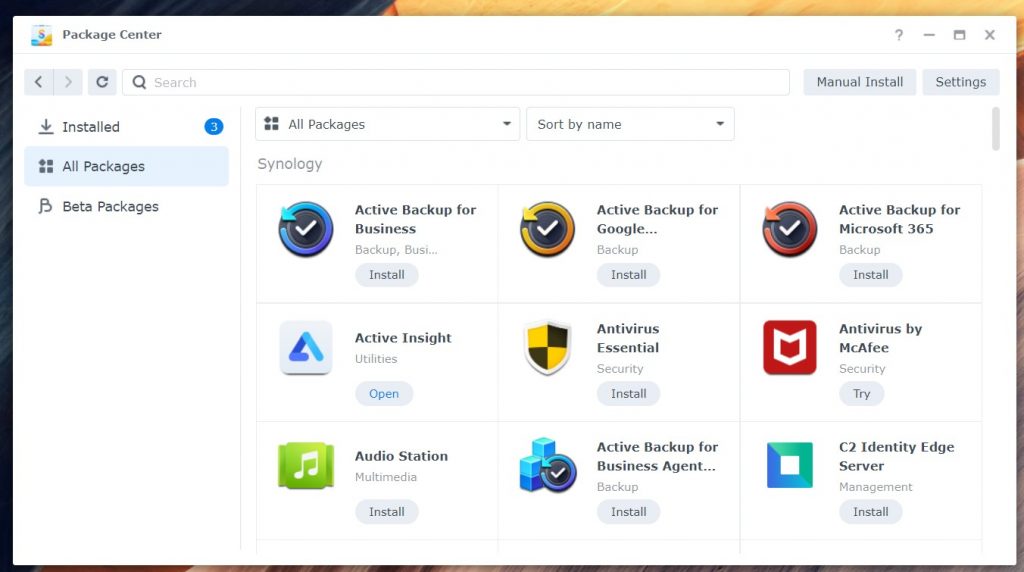
This software enables more features for your DiskStation, and you can choose which ones you want to install. For example, you can host your own mail server or media center on the DiskStation.
Multi-platform support
Thanks to its availability on PC and mobile, you can also use Synology Drive on your smartphone to make backups of your photos and folders on your mobile device.
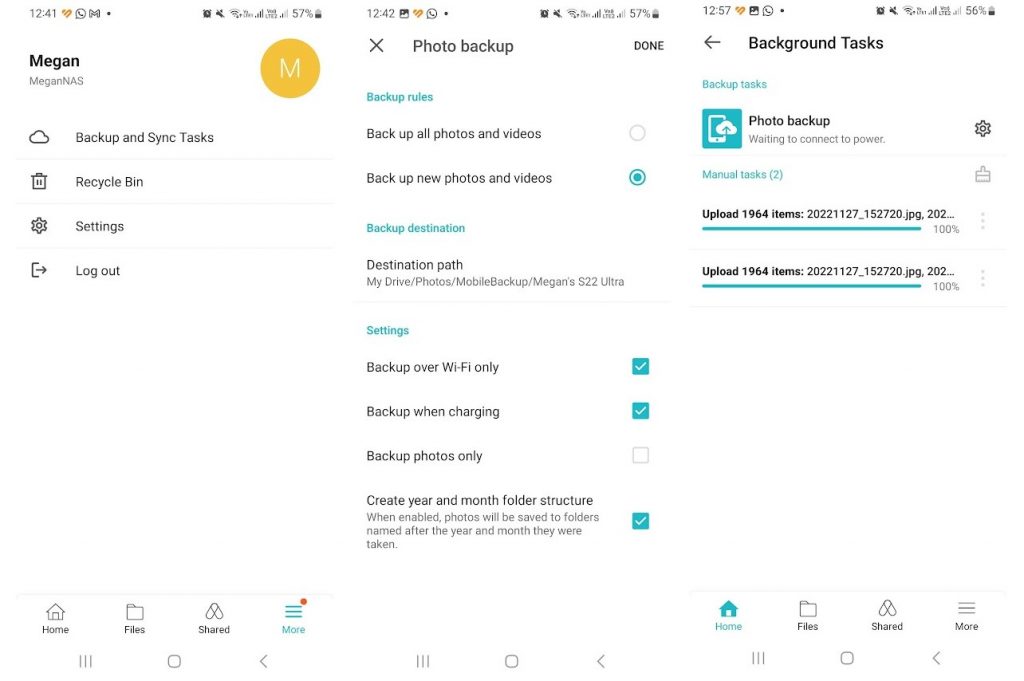
This adds additional flexibility to your private cloud, and you can use it similarly to cloud services such as Google Photos.
Like with synced folders, you can also create sharing links for your files backed up from your smartphone. You can set these to be private, internal, or public.
To make sure that backups transfer correctly, ensure that Drive has the requested permissions on your device. Denying Camera access, for example, can cause issues with the backup process.
The speed of transfers will depend on two things: your network speed, and the read/write speed of the drives you have installed.
Using an HDD drive, as we did, slows down the transfer speeds. But they come with ample space at a lower cost to backup a myriad of files and even host files for small business teams.
To keep your cloud functioning during power outages, it’s recommended that you also install a UPS to keep your router and NAS functional. This means that loadshedding won’t get in the way of accessing your files.
Verdict: Should you use Synology to set up your personal cloud?
Synology provides both the software and the hardware needed to create your own personal cloud. A device such as the DiskStation DS423+ provides the flexibility you need if you need to make large backups that make use of multiple storage volumes.
The solutions provided by Synology are customizable and multi-functional. If you need traditional backups, you can easily create these tasks and backup folders. But you can also unlock more advanced functionality like syncing and file collaboration.
When you get stuck, either due to an error or because you’re unfamiliar with NAS software, Synology’s Knowledge Center provides a wealth of information to help you make the most of your drive.
The DiskStation DS423+ provides a compact, robust solution for keeping your data safe and backed up. The availability of four drive slots means that you have enough space to create mirrored drives to protect against hardware failure. But you can also add additional drives according to your future storage needs.
If you want to create your own private cloud with enough functionality and features to use for small teams and when working from home, Synology Drive and its hardware solutions provide the ideal basis to create your own cloud storage.
For more information on Synology NAS benefits and details, visit the Synology website.
This article is sponsored by Synology.

