With youth unemployment above 60 percent, South Africa is betting on digital skills to drive inclusive growth. Here is how MICT SETA is positioning the next generation for the Fourth Industrial Revolution.
Here’s how to free up space in Google Photos

Those who use Google Photos will have to pay up after June 2021 if they want extra cloud space for all their pics. But there are some tips and tricks you can use to help free up space on your account.
The company announced in November 2020 it was changing its storage policy.
Before the change, Google account users have had 15GB of free storage to store material such as photos, files and videos. The storage extends across the search giant’s services such as Google Photos and Google Drive. The quota covers any uncompressed material that’s in its original quality.
However, users could store an unlimited number of “high quality backups” — compressed images and videos on Google Photos that were not subject to the 15GB limit.
That’s where the changes are coming in. Starting from 1 June 2021, high-quality backups will also be subject to the 15GB quota.
To store more backups, users will have to sign up for a Google One subscription and pay a monthly fee for more cloud storage.
But for those of us who have to make do with the space we have, here are a few tips to get the most out of Google Photos’ free storage…
Turn off backup for unnecessary folders
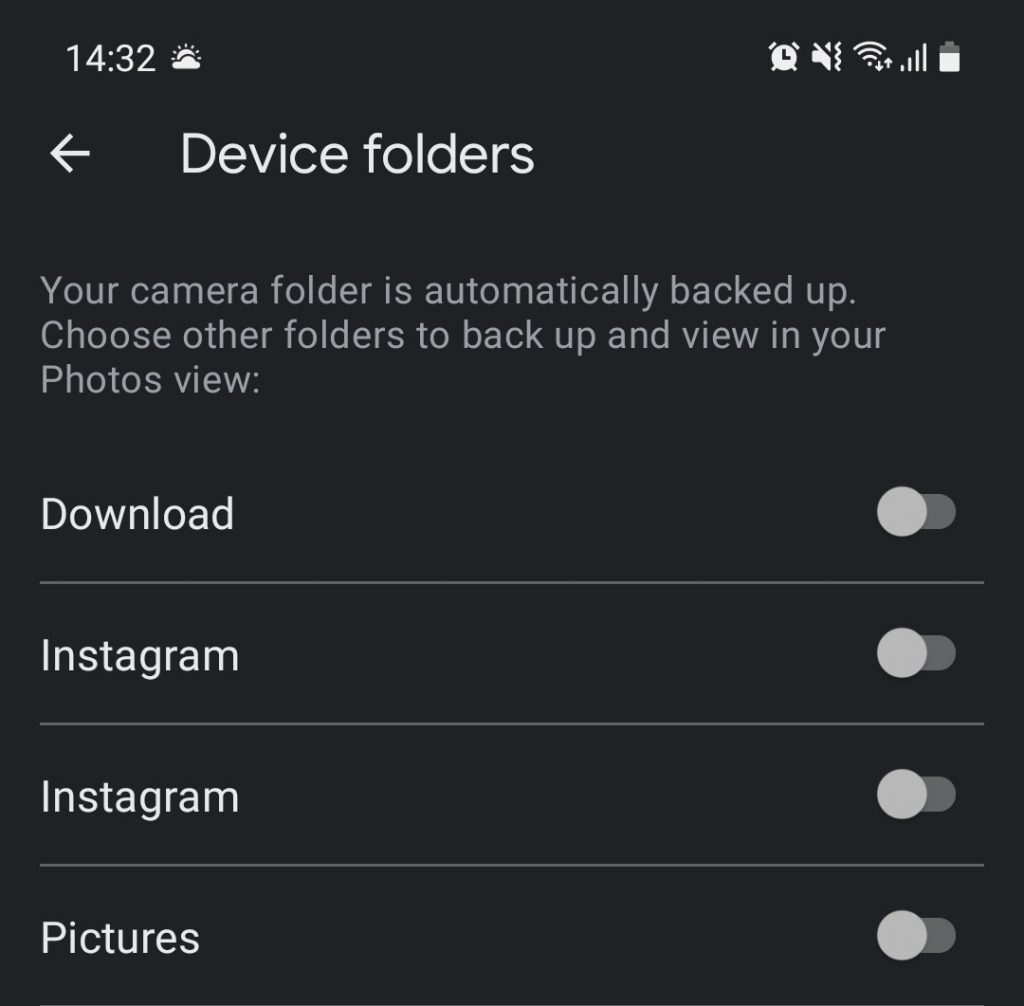
Google Photos offers to sync up with your device to automatically upload and store your images.
A clever way to limit the images being uploaded is to change what folders the app uploads images from. To select them, click on your profile icon and select ‘Photos settings’.
Click on ‘Back up & sync’ and select the bottom option to change what folders of other apps, such as WhatsApp and Instagram, are automatically uploaded.
Convert existing photos to ‘high quality’
Leading up to the start of the fixed quota policy, you can convert all of the images in Google Photos to high-quality versions and save space going forward.
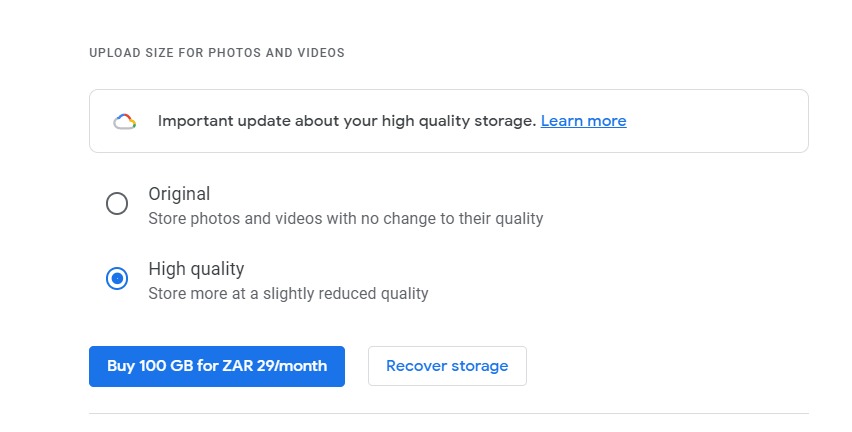
The Google Photos website has the option to compress all saved material in storage from their original quality to high quality (that includes converting videos to 1080p resolution).
To access the option go to your Settings and click on ‘Recover Storage’.
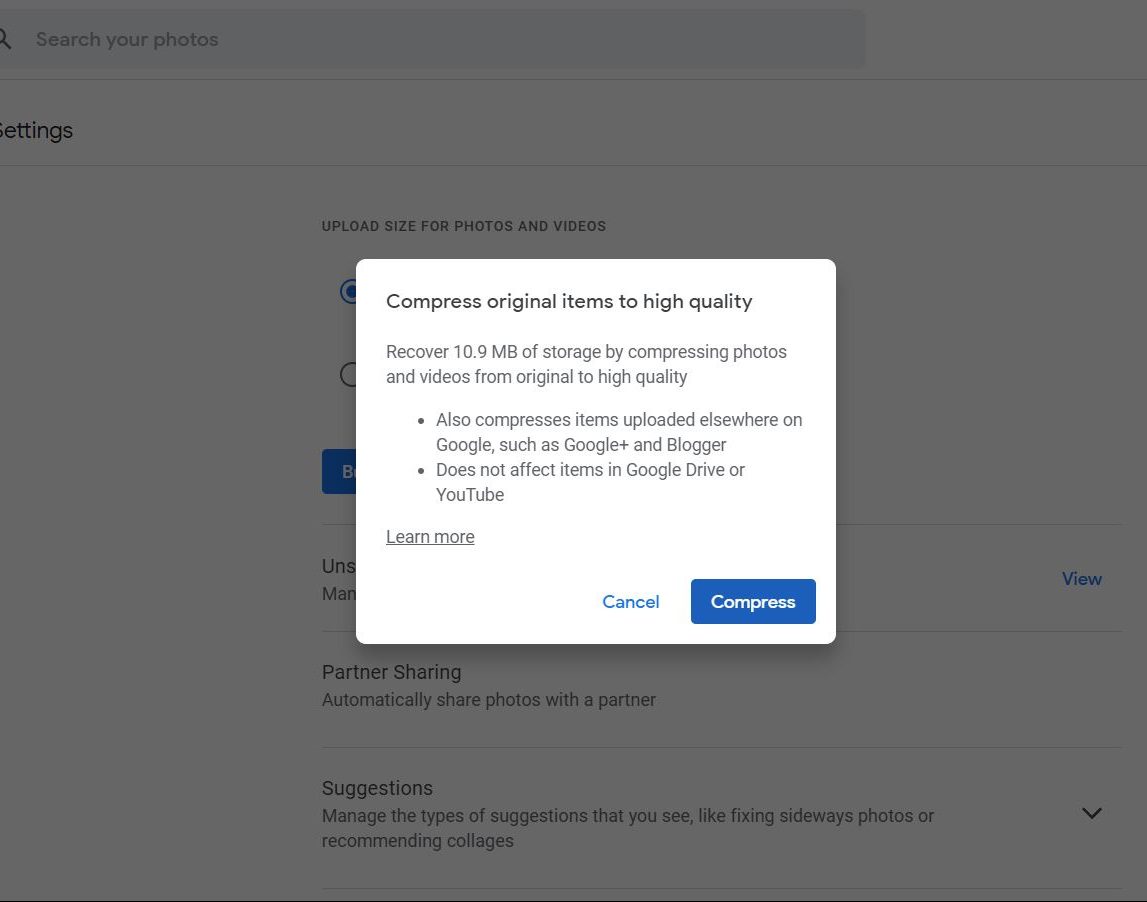
An important note to remember is you can only use the storage recovery option once a day. Depending on how many files you have uploaded with their original quality, the compressing process may take some time.
Take out the trash more often
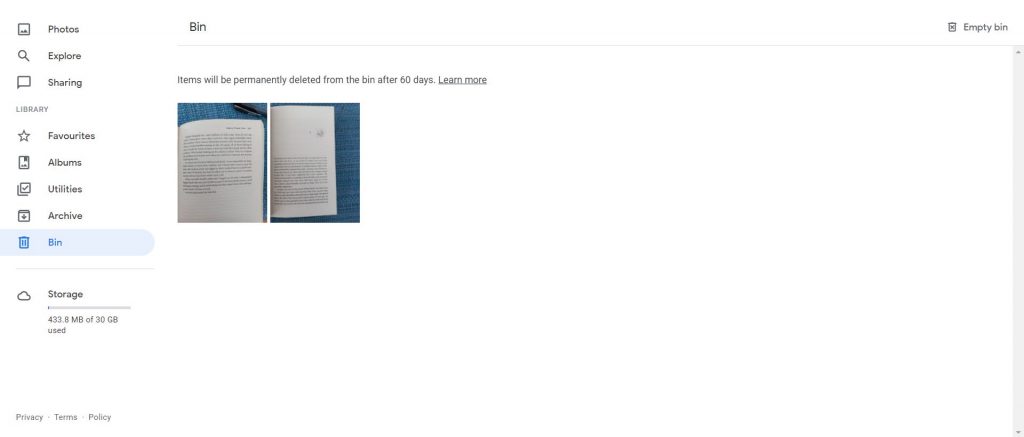
Deleting pics on Google Photos does not mean they are instantly removed. The images are moved to a trash bin that keeps them for 60 days before permanently deleting them.
The trash bin accounts for up to 1.5GB of storage. By selecting items after they’ve been moved to the bin and deleting them manually, or by clicking the ‘Empty Bin’ icon, you can reclaim that space.
Use Google’s personal estimate tool
To coincide with the change in its storage policy, Google introduced an estimation tool that tells you how long your free storage will last at the rate at which you upload material.
Use the tool to get an idea of your usage pattern and plan out how much material you want to upload to your storage. The tool is available on the Google Photos website.
You can check out your personal estimate on the Google Photos website here.
This will give you an idea of just how much deleting and decluttering you need to do.
Use the Google Photos Utilities tool
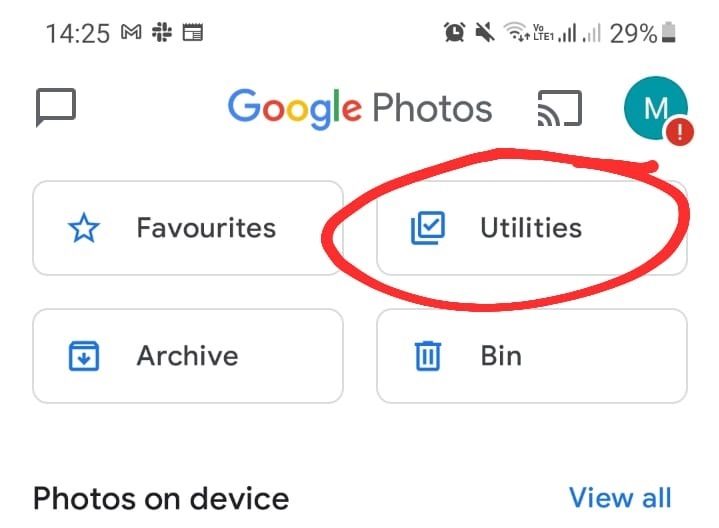
Google Photos offers a collection of features called Utilities that let you manage your library better. The features include creation tools for animations and collages, an option to free up space on your device, and image sharing options.
Utilities also lets you de-clutter your library. The function also gives suggestions on what items you should delete.
To access this, click on the Utilities icon in the Library tab of the Google Photos app.
From there, you can review de-clutter suggestions and other features.
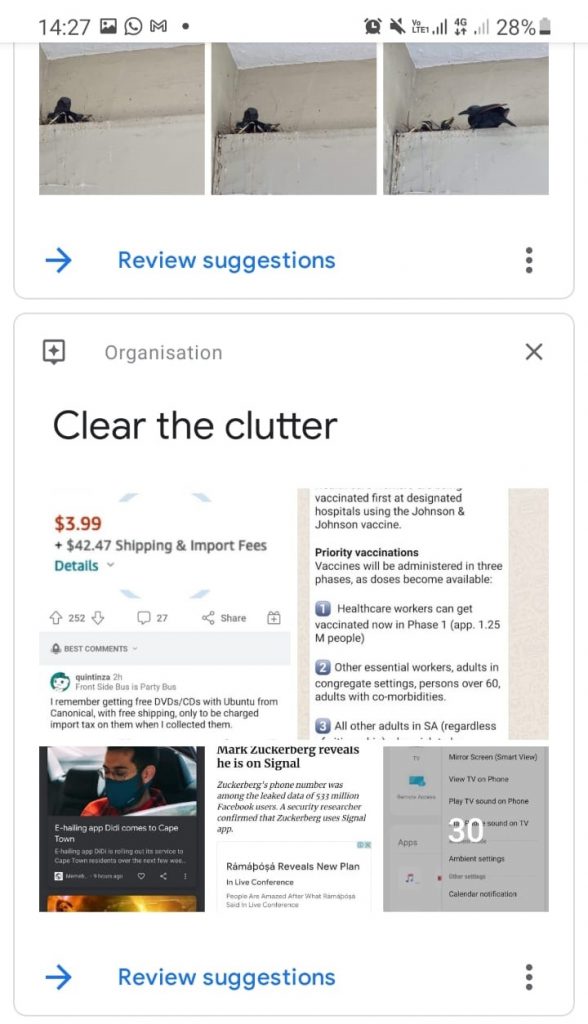
This feature will give you suggestions on what to send to your Archive. From your Archive, you can send them to your Bin.
Use the Google Photos Search tool to identify screenshots and unneeded photos
The Google Photos app offers a very clever search function that lets you find specific images using text descriptions. You can search images according to different objects, places, or people.
You can also search according to different kinds of images such as selfies and screenshots. That way, you can delete all those hundreds of mirror selfies that accumulate quickly.
Manually delete duplicates
If you are uploading photos from multiple devices and apps, chances are there are a few duplicates of the same image floating about the place.
When searching your library, Google Photos lets you select multiple items. Selecting multiple images at once will let you delete them all at once. On desktop, you can hold in Shift while clicking to select multiple images. To select a series of images, select the first image, then hold Shift + Ctrl and select the last image.
The Utilities tool can also be very useful when deleting duplicates. Use the tool’s different image categories, especially ones such as selfies and screenshots, to quickly go through images that there are most likely to be duplicates of.
We suggest if you plan to delete duplicates manually, rather do this on the Google Photos web app on not on your mobile device. That way you can pick up duplicates on the larger screen more easily.
Check out other cloud storage websites
Many cloud storage sites will give you a certain amount of free space when you register with them. For example, Dropbox gives you 2GB of free storage when sign up.
Microsoft’s OneDrive gives you 5GB personal storage with a new account.
Feature image: Unsplash/Mitchell Luo
Read more: Twitter app now lets you upload and view 4K images: Here’s how to switch


